T-BAR PLANNING GUIDE · 5 MIN READ
Planning a T-Bar Ceiling: Height, Access, Fire and Seismic Details
Rambo Walls & Ceilings · October 29, 2026
A Rambo planning guide for offices, commercial interiors and basements: measure ceiling clearance, preserve service access and confirm the right assembly before pricing.
A good T-bar ceiling starts with the space above it. Before choosing a tile, establish the finished ceiling level, how the overhead services will be reached and which performance documents the project needs. For an office fit-out, commercial renovation or residential basement, those decisions affect both the installation scope and the room you will use afterwards. Here is a practical checklist to bring to Mason at Rambo Walls & Ceilings.
1. Measure the room before promising a finished height
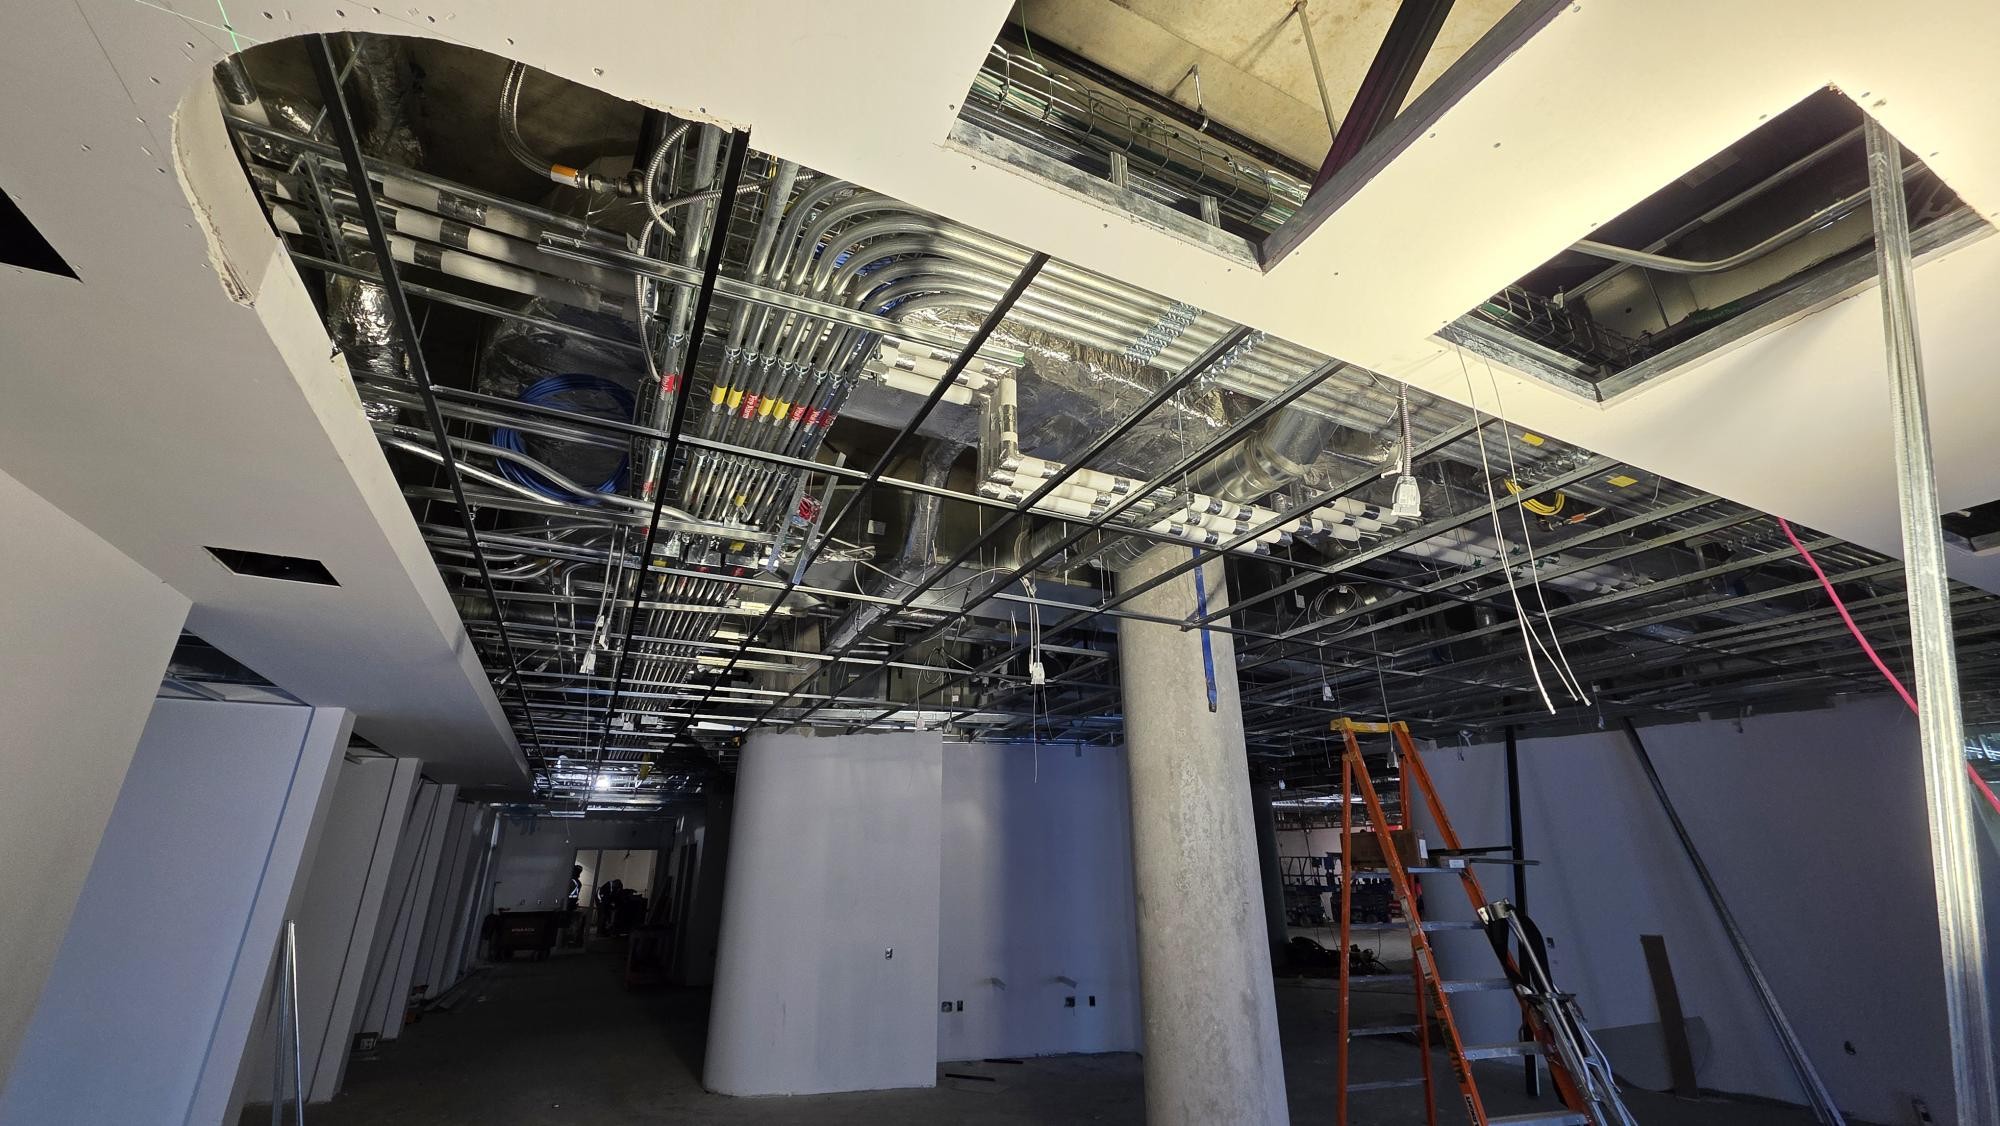
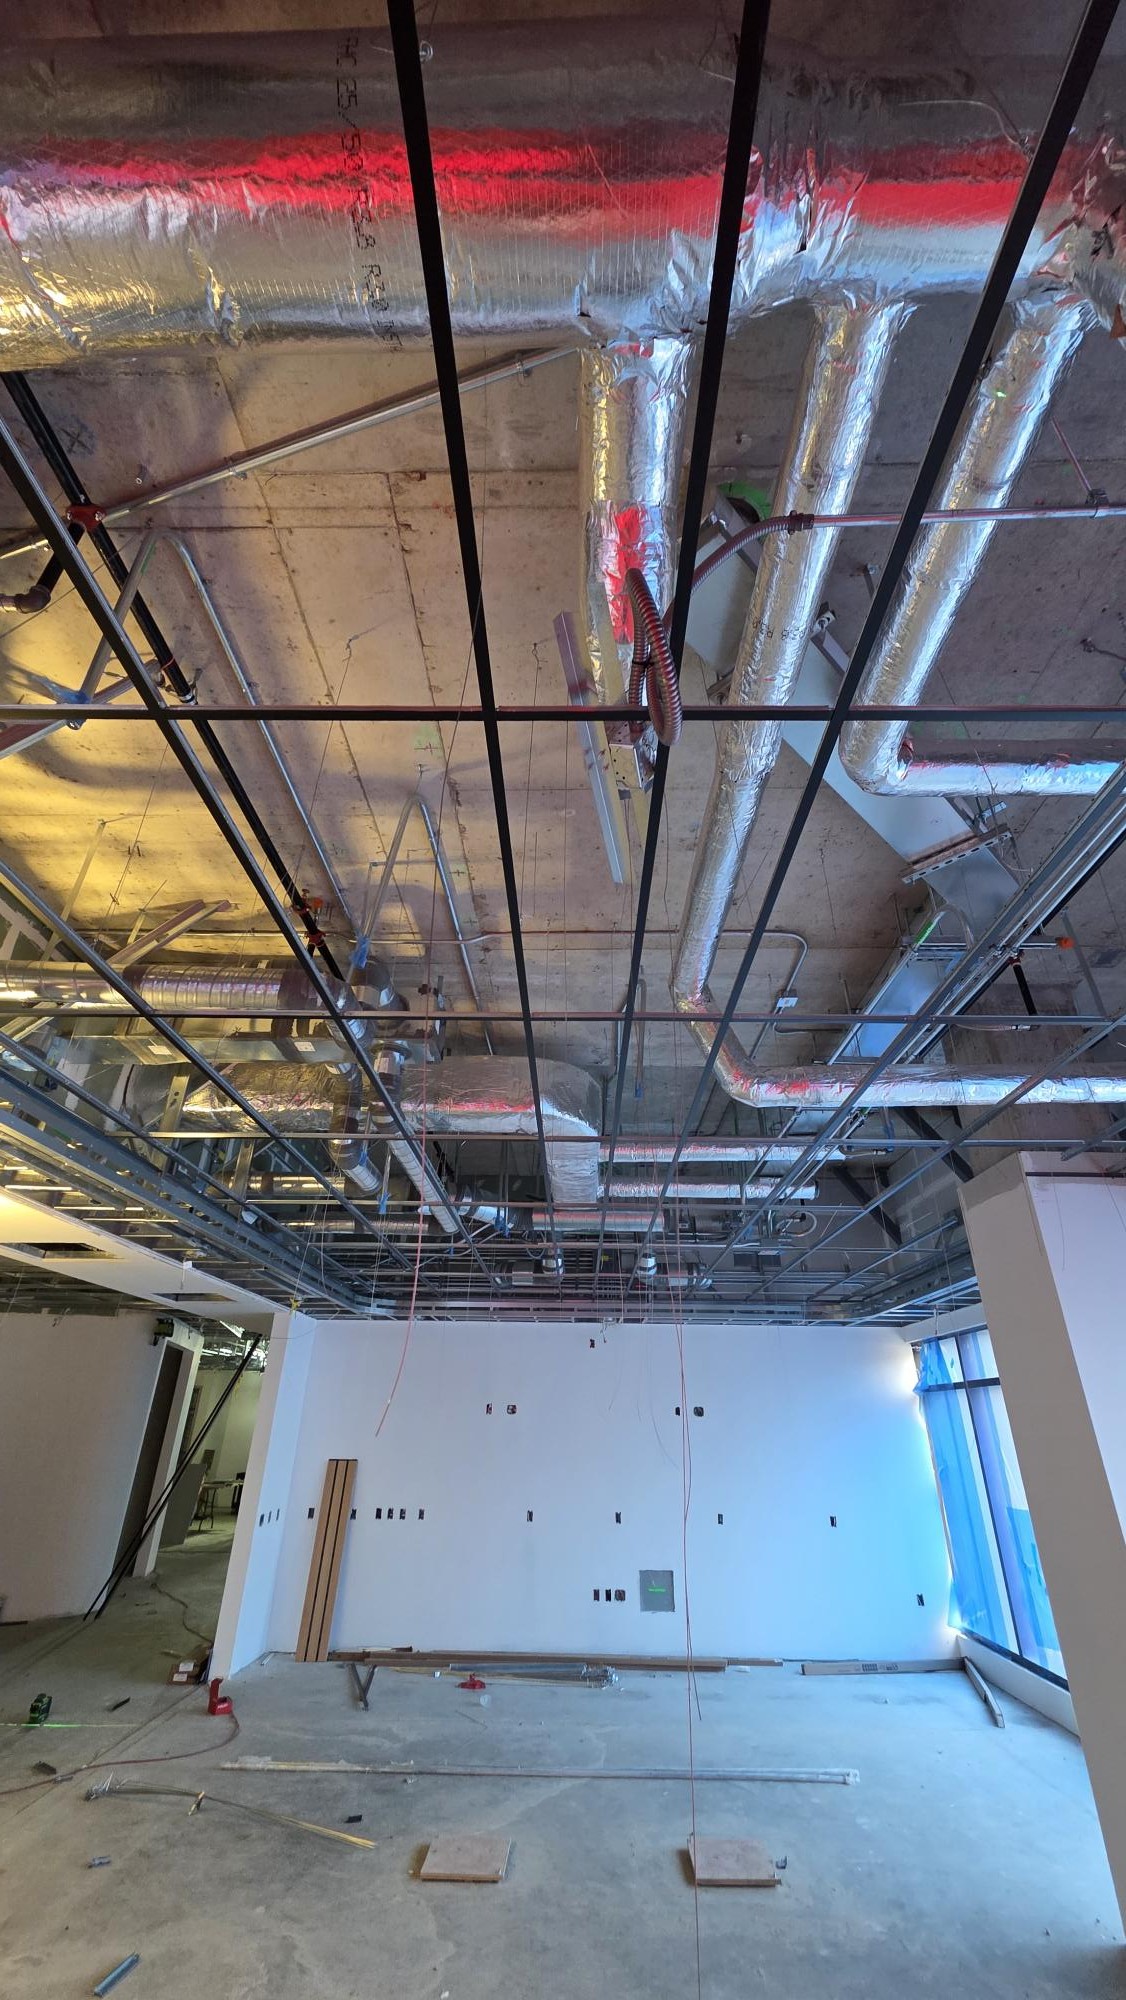
Record the floor-to-structure height and the lowest ducts, beams, pipes and other obstructions. Then identify the proposed finished ceiling plane on a section or marked-up photograph. A room with one low duct may need a different layout from a room with services spread across the entire ceiling.
Four inches is not a universal minimum. Armstrong’s residential instructions give a three-inch drop for traditional hanger wire and a four-inch minimum below an existing drywall ceiling; lights can need more space. Its commercial FAQ gives different clearances for panel insertion and tying exposed-grid hanger wires. These examples are system-specific, not a dimension to copy onto every BC project. [1, 2]
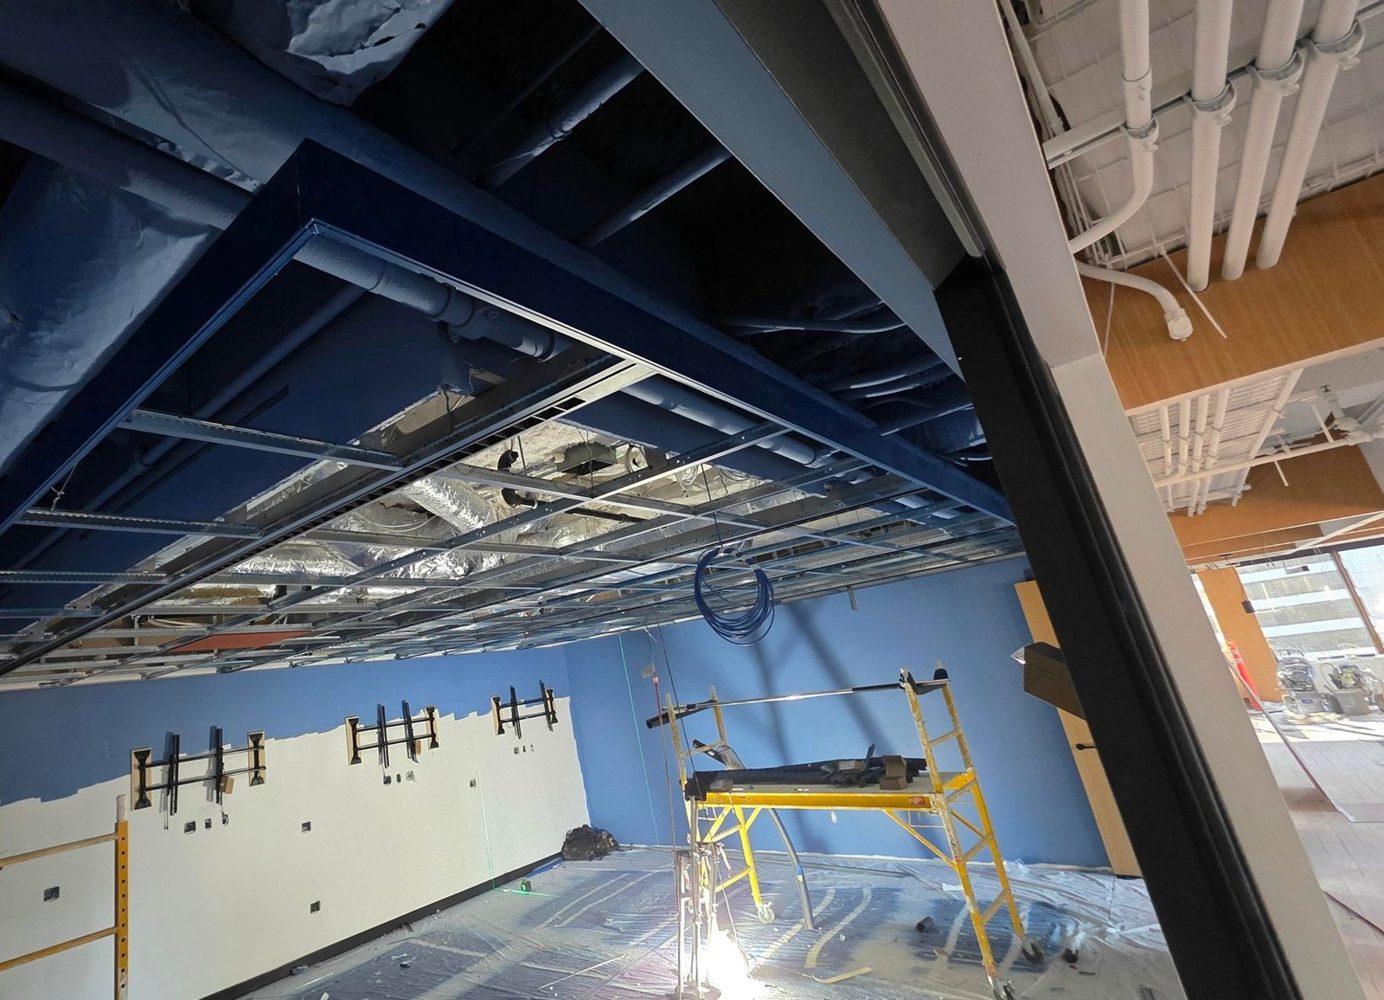
Ask for the selected system’s installation requirements and enough room to insert, remove and service its panels. Whether a basement can retain 7 feet 6 inches—or another useful height—depends on the actual structure, services, proposed use and applicable requirements. A contractor’s experience cannot recover space that the building does not provide.

2. Make utility access a layout decision
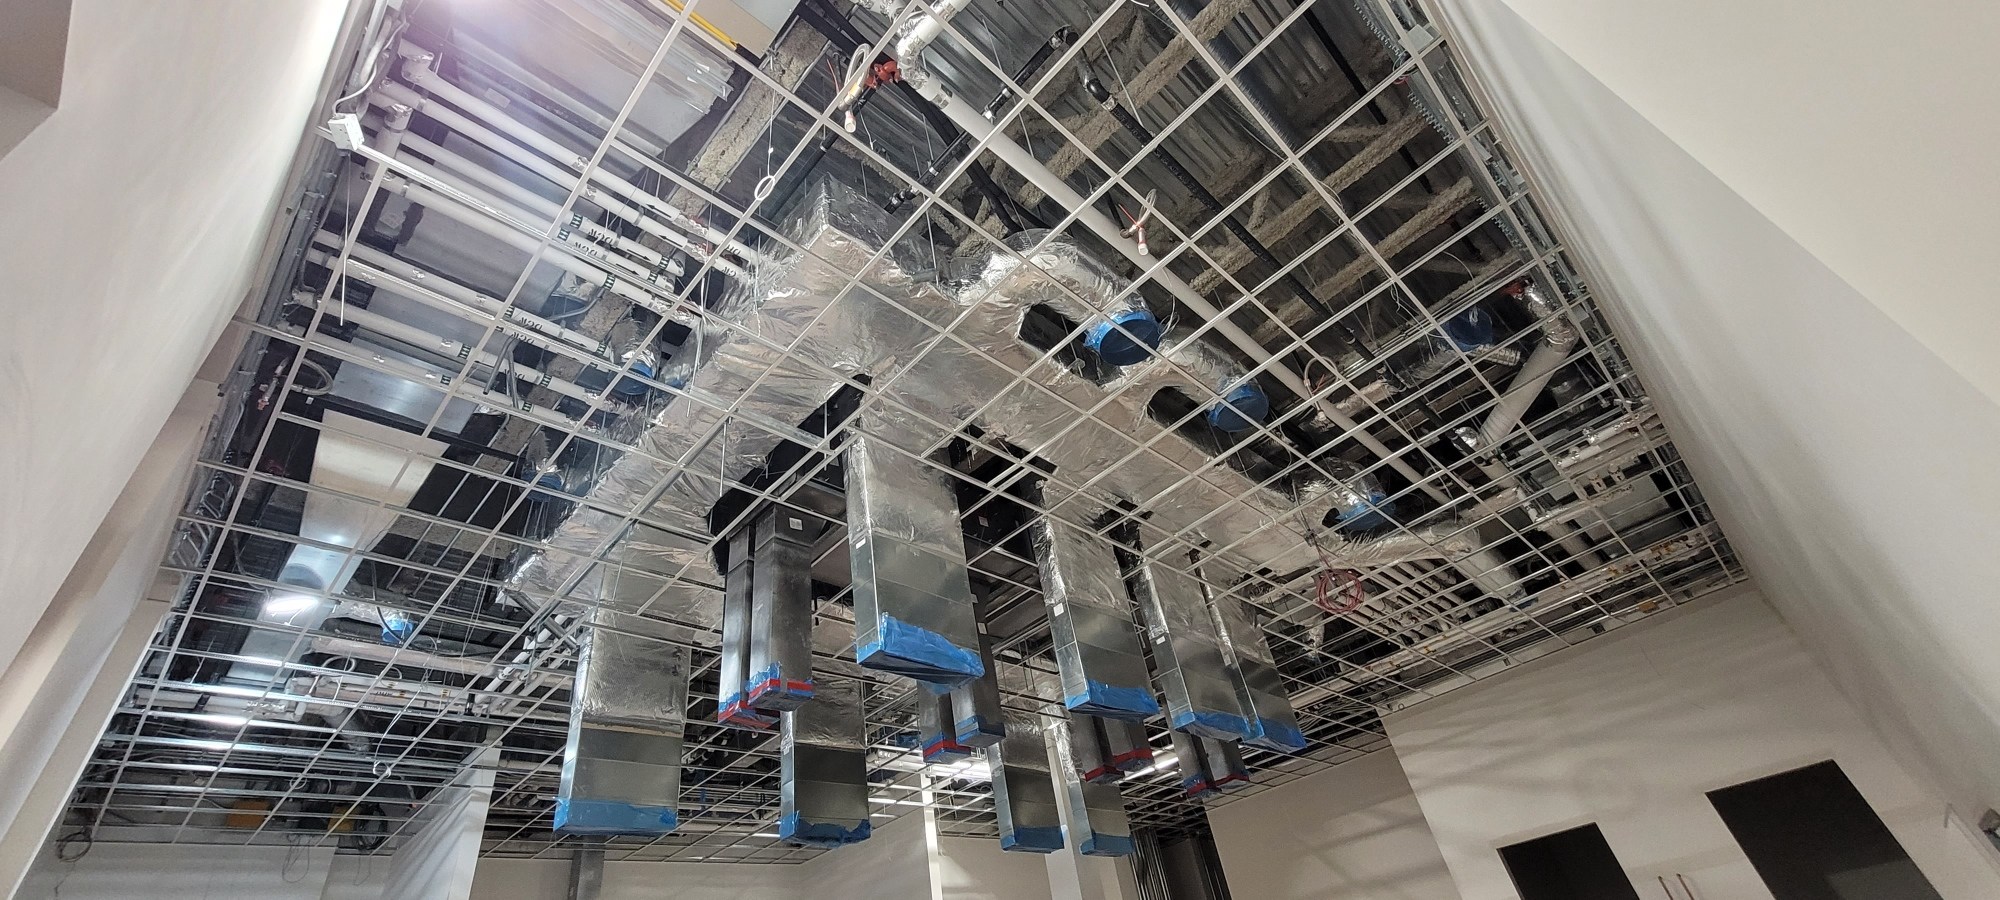
Removable lay-in panels can provide convenient access above the ceiling, but a removable tile is only the start. Identify the valves, junction boxes, dampers and equipment that need attention, then have the responsible trades confirm the opening and working space required.
Allow for the panel’s removal path and the equipment’s service needs. A crowded bay, fixed fitting or inaccessible perimeter can defeat the intended access. Mark important service locations on the reflected ceiling plan and retain the information for the building operator. Access to electrical, plumbing or HVAC equipment should be handled by the appropriate trade.
3. Match the acoustic tile to the actual problem
Describe the room’s use: conversations in an open office, a meeting room, a retail floor and a basement recreation room raise different questions. Ask for the selected panel’s test data, surface finish, humidity limitations and cleaning requirements.
Sound absorption and sound blocking are different measures. NRC describes absorption; CAC addresses sound transmission through a shared ceiling plenum. A high absorption rating alone does not establish speech privacy or sound isolation between rooms. Walls, doors, penetrations and other sound paths belong in the acoustic discussion too. [3]
4. Confirm the complete fire-resistance assembly
A tile described as suitable for fire-rated construction does not automatically give the room a one-hour ceiling. Fire resistance applies to a complete tested floor/ceiling or roof/ceiling assembly, including the specified components and details. [2]
Ask the design team to identify the required assembly and its documentation. Confirm compatibility of the grid, panels, suspension, penetrations and any specified protection at openings. Do not substitute a visually similar tile or add material above the panels without checking the approved design. The requirement depends on the building and work proposed; not every suspended ceiling has the same rated role.

5. Resolve seismic and permit details for the location
For BC projects, confirm the applicable code edition, permit conditions and design responsibilities with the authority having jurisdiction and the project’s qualified professionals. Vancouver has its own Building By-law with local provisions; a generic North American installation chart is not a project approval. [4, 5]
The required suspension, perimeter treatment, restraints and interfaces with lights, sprinklers and services must come from the applicable design and selected system. Avoid a blanket bracing spacing or perimeter gap copied from another job. Ask who supplies the seismic details and who coordinates the ceiling with the other trades before the installation is priced.
6. Include the existing-building conditions
For renovation work, share the age and condition of existing finishes and any available hazardous-materials survey. WorkSafeBC identifies asbestos disturbance as a risk in older-building renovations. Appropriate assessment and work planning belong before disturbing suspect materials, not after ceiling removal begins. [6]
Also identify occupancy, delivery access, working hours, protection of finishes and disposal responsibilities. These practical conditions help define an estimate; they do not establish a fixed installation time or price.
Bring Rambo a clear ceiling enquiry
Tell Mason whether the project is an office, another commercial interior or a residential basement. Send your municipality, approximate ceiling area, existing and desired heights, drawings or site photographs, and intended schedule. Identify acoustic requirements, any fire-resistance assembly, the proposed lighting and the services that need access.
If selections or professional details are unresolved, say so. A useful next step is to separate the confirmed installation package from the questions still needing design input. Call or text Mason at 778-773-2790, or email rambowallceiling@gmail.com with your plans.
- Room use and approximate square footage
- Measured heights and lowest overhead obstructions
- Grid, panel and lighting selections—or the decisions still open
- Required access, acoustic intent and assembly documents
- Site location, occupancy, access conditions and intended timing
Sources
- [1] Armstrong residential suspended-ceiling installation instructions, page 1: clearances and lighting; checked October 29, 2026 ↗
- [2] Armstrong commercial installation FAQs: panel clearance, exposed-grid hanger clearance and complete fire-resistance assemblies; checked October 29, 2026 ↗
- [3] Armstrong: sound absorption and sound blocking (NRC and CAC); checked October 29, 2026 ↗
- [4] Province of BC: 2024 BC Codes information ↗
- [5] City of Vancouver: applicable Building By-law and professional guidance; checked October 29, 2026 ↗
- [6] WorkSafeBC: asbestos hazards in demolition, renovation and salvage; checked October 29, 2026 ↗
Frequently asked questions
- Does a T-bar ceiling always need a four-inch drop?
- No. Required clearance depends on the suspension system, panel installation, existing construction, lighting and service access. Confirm the selected manufacturer’s instructions and project details.
- Can a basement ceiling stay at 7 feet 6 inches?
- That cannot be promised from a description alone. Measure the room and obstructions, establish the ceiling system and have the applicable height requirements confirmed for the proposed use.
- Does an acoustic tile make a ceiling fire-rated?
- Not by itself. A required fire-resistance rating depends on a complete tested assembly and its specified installation details.
- What should I send Rambo for a ceiling estimate?
- Send the room use, approximate area, location, measured heights, plans or photographs, selected grid and panels, lighting, access requirements and intended schedule.
Have a project that fits this scope?
Text us or send drawings — we quote walls, ceilings and framing across Vancouver & the Lower Mainland, BC.